Tuesday, May 30, 2017

True friends

Hi crafty friends and welcome back to our crafty space. Raluca here with a new card using the beautiful "Time to say thanks" stamp set.


I colored these leaves in March during the #thedailymarker30day challenge and I finally decided to make a card with them.


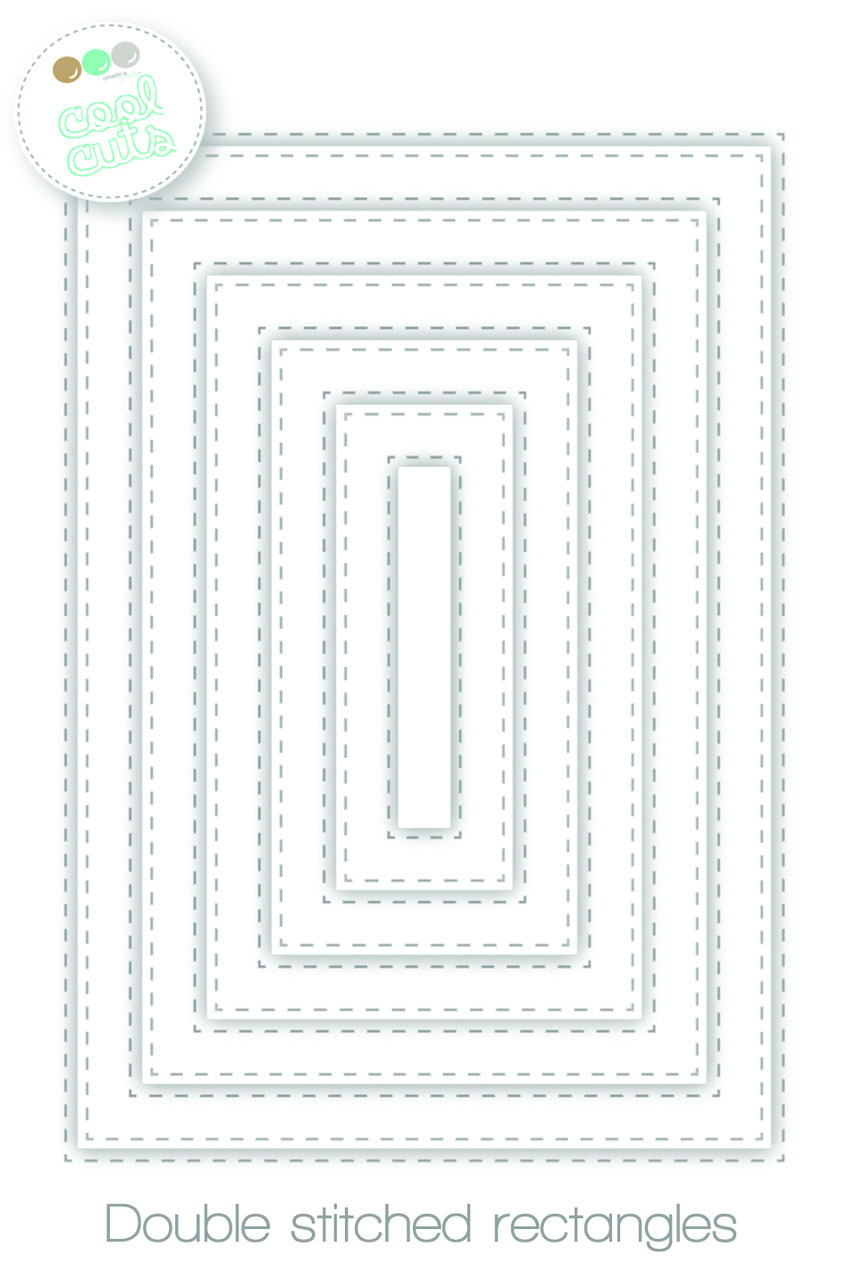
First thing was to die cut a white panel using the largest stitched rectangle and add gold splatters all over it.
I mounted the leaves using some foam tape and under them I added a sentiment from the "Friends like you" set. I stamped the first part of the sentiment in VersaMark and white heat embossed it on a kraft strip of cardstock and the second part I stamped it directly on the white panel. 
I glued a few clear sequins, mounted the panel on a kraft card base and my card was done.


Time To say thanks


If you love Instagram like I do, you can follow Create A Smile using the name @createasmilestamps and if you have any questions about card making, techniques or products or if you want to share your creations with Create A Smile fans join us on our Facebook group Create A Smile - Friends & Family :).

Have a lovely Tuesday!
Thanks for stopping by,
Raluca


Sunday, May 28, 2017

Back to Copics - Part 1

Hey crafters! I thought I'd bring out my dusty Copic markers and use them and let my watercolours take a break, a short one ;) 


So as you can see the card above, it's not complicated and quite clear how it was put together. But bright colour and kraft cardstock is one of my favourite combinations and, dare I say it, a classic. 

Okay so let's make this snappy. Flowers and leaves stamped out on a copic friend paper using Memento Tuxedo Black Ink and go wild with the copic markers. Stamp out the sentiment with Versamark and dust it with white embossed powder. Finish it off with bright enamel dots. 


White Embossing Powder
VersaMark Ink


Follow Create A Smile on Facebook keep yourself updates on all the happenings and if you're an Instagram addict like I am, you can follow Create A Smile using this name : @createasmilestamps ! :)


Thanks for stopping by,


Friday, May 26, 2017

Just Wanted to Say...

Hi there!
Samantha here and today I'm sharing a super pretty, and card that just plain makes me happy to look at! 


I have used that background stamp a millions times, I think! And I'll use it a million more, I just know it! This time, I wanted to add color with Distress Markers! 


Let's create this card together!

- use your Distress Markers to color directly onto the large, cling stamp
- spritz with water, lightly and press onto a piece of white cardstock
- BOOM - gorgeous! ha!


- cut out along the outside edge and add foam tape to the back
- heat emboss part of the sentiment in white, onto a strip of cardstock
- heat emboss the other part of the sentiment in black onto the cardbase
- attach all of your images and add sequins!


If you wanted to, you could stamp this directly onto the card front, and that would look beautiful! I just like to have a little height to add some interest and litter nooks to hide and tuck in sequins! 


That Mandala Cling stamp...swoon! Am I right? Who else just LOVES that image?! I swear, I could use it on every card!
The sentiment is from Just Saying Hello! I also used some Pretty Pink Posh clear sequins!


Do you follow us on Instagram? Are you in our Facebook Fans group? Why not?! We want to see what you make! Share it and tag us! 


~Samantha


Thursday, May 25, 2017

Distress Inks 4/4 * coloring

Hi there, Nicole here.

This month is all about my four favorite Distress Ink techniques. So let's end this series with the last one: waterCOLORING with Distress Inks ...


I love creating with distress Inks and how versatile they are. Because I did not use them as much as I would love to, this month will be all about them.

Have you seen the other three techniques?
1. Ink blending
2. Ink smooshing
3. Stamping and spritzing with water


  1. stamp with a clear sticky ink on paper that you like for watercoloring, I used watercolor paper
  2. add white embossing powder and heat set it
  3. put some Distress Ink on a piece of plastic and add some water
  4. color your stamp with a brush, like you do with regular watercolors
  5. additionally add some white Nuvo Drops
 

Mandala


I'd love to see what you create. Show us your projects on Facebook -> Create A Smile Friends & Family

Thanks for stopping by! See you soon :-)


Tuesday, May 23, 2017

You're so sweet!

Hi crafty friends and welcome back to our crafty space. Raluca here with a new card using the adorable "Served Up!" stamp set.


I am in love with this stamp set and I truly enjoy coloring this cute hippo. I wanted to make a clean card with a simple design, yet striking.


On a white panel die cut with the largest stitched rectangle I stamped the biggest Hello from the "Just saying Hello" stamp set. I colored it with Nuvo markers in a ombre look. Underneath I stamped another sentiment from the "Served up!" set. 
Then I stamped and colored the hippo and a couple of the little sweets from the set. I glued everything to the panel and I added a few clear sequins. 
I mounted the panel on a dark grey card base using craft foam and my card was done.


Double Stitched Rectangles


Served Up!


Just Saying Hello


If you love Instagram like I do, you can follow Create A Smile using the name @createasmilestamps and if you have any questions about card making, techniques or products or if you want to share your creations with Create A Smile fans join us on our Facebook group Create A Smile - Friends & Family :).

Have a lovely Tuesday!
Thanks for stopping by,
Raluca


Monday, May 22, 2017

Have a colorful day.....

Hi there it's Anja again this time with a card full of flowers.


A friend asked me to make a card for a birthday girl who is crazy about flowers. Well that shouldn't be to difficult should it with all those lovely flowerstamp sets from create a smile?


I once again started with a topfolded white cardbase.
I diecut a rectangle out of white cardstock and a strip out of some patterned paper.
I stamped several flowers and leaves using different stampsets and colored them with copics and cut them leaving a little white outline.
I arranged the flowers and leaves thus forming a floral bouquet and adjered everything to the cardbase.
Stamped the sentiment and to finish the card i adhered three clear droplets and gave the flowers some accents with a white gelpen.


Stamps;

Crokisses, Magic Flowers, Botanical love and Time to say thanks.


Cool cuts ( dies)

Double stitched rectangles;


Pretty Pink Posh;

Clear droplets;


You can Always combine the different sets together to build a nice card.
The store is once again open so please visit the store and stay tuned for some new sets very soon.......

Have a great week;

Hugs Anja

Sunday, May 21, 2017

Make Your Own Background - Part 3

Hey crafters! How have you been? In between days, I've been painting my little journal with repeating pattern using watercolour. That's what inspired me to make this card today. As you might already know, you can use stamps, any stamps, and stamp them repeatedly and you'll get a filled background just like sticking on patterned paper but with more control. That's what I did today. 


I've stamped the flower and leaves using Distress Ink Antique Linen. It's my favourite distress ink colour to use when I want that no-line effect. Basically, it makes it looks like I've handdrawn them. 

Use your colouring medium of choice. I've chosen to watercolour but you can use copics or any other medium that your heart desires. 

Add a bold sentiment to ground the whole background and so that the sentiment doesn't get lost in the busy background.

Leaves are from the Aloha Spirit Stamps
Flowers are from the Crokisses Stamps


Follow Create A Smile on Facebook keep yourself updates on all the happenings and if you're an Instagram addict like I am, you can follow Create A Smile using this name : @createasmilestamps ! :)


Thanks for stopping by,


Friday, May 19, 2017

A Tropical Thanks!

Hi there!
Samantha here and today I'm sharing a fun card inspiried by summer and my hibiscus tree in the front yard!


I really just wanted to do some light watercoloring, so I chose some of my favorite floral images and got to work! 


Let's create this card together!

- on a piece white cardstock, stamp your background image in a subtle color
- on watercolor paper, stamp and color your images! I used Zig Clean Color Real Brush Markers, but any medium will work! I just love how BRIGHT and BOLD they are!


- once the images are dry, fussy cut out and arrange on your background.
- sprinkle some water and white acrylic paint onto the image and let dry
- die cut the sentiment out of black paper and adhere
- when the images are dry, and attached to the background, add some glitter to the centers for some real pizzazz!


If watercoloring is not your thing, you can create this same card with copics, colored pencils or any other medium that you prefer! 


Love love love love this card!
The background was created with the Cling Woodgrain stamp in a light grey! The sentiment is from the Thanks Twice die set! and the gorgeous flower and leave images are from the Magic Flowers stamp set!


Did you know that Create a Smile stamps offers the same sets in English AND German? Oh yes! It's one of the most unique and wonderful things about this company!

~Samantha