Friday, September 29, 2017

Cool Friends!

Hi there!
Samantha here, and today I'm sharing a cool, winter friendship card! And I LOVE those little snowmen! 


Eeeeeek! Super adorable, right?! I was flipping through my stamps and BAM, I knew I had to make a rainbow merry go round! 


Alright, let's get down to it!

- stamp and color your image (I used Zig Clean Color Real Brush Markers and watercolor paper)
- once dry, fussy cut out! 
- add foam tape


- on to a piece of white cardstock, do a little distress ink blending (I used Peeled Paint and Twisted Citron Distress Oxide inks)
- add some texture with white embossing paste and a snowy stencil
- heat emboss the sentiment
- attach your image!


If the merry go round seems too intimidating to fussy cut out (It's not that bad, promise - but a good exacto knife is your best friend here! Ha!), you can stamp the image onto your card, then only cut out the snowmen and their carts! Easy fix!


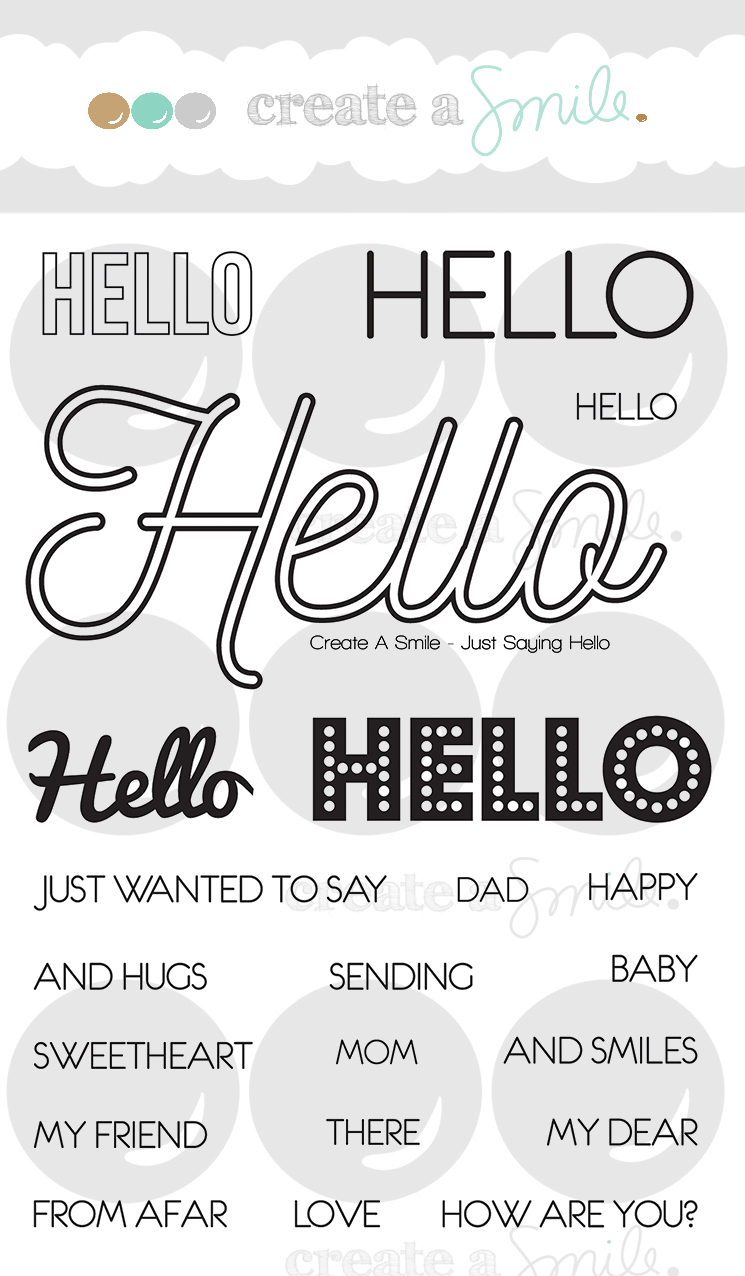
That ADORABLE merry go round image is sooooooo fun!! It's from the A Friendly Turn stamp set! The awesome white embossing paste texture was used with the Waves of Snowflakes stencil.

    
Have you been eyeing some of the stand alone dies that Create a Smile sells?! What are you waiting for? Go get your hands on them!! They were just all stocked back up a few weeks ago, and everything should be there for you! 

~Samantha


Thursday, September 28, 2017

Alles Gute

Hello crafty friends, Nicole here.


I love to play with my Distress Onxide Inks and wanted to try the ink smooshing technique.

  1. Stamp the wreath and the sentiment on watercolor paper. I used black pigment ink and covered it with clear embossing powder.
  2. Stamp the flower on a piece of watercolor paper and cover it with clear embossing powder as well.
  3. And then start smooshing :-) There's a tutorial over here -> Ink Smooshing
  4. Color the flower with a paint brush, let it dry and cut it out.
  5. die cut your panel and adhere it on your card base.
  6. add the flower with some foam tape.


You do not need Distress Oxides for this technique. You can use your Distress Inks or regular Watercolors. 


Dekorierte Grüsse/Decorated Wishes * Double Stitched Rectangles * In Bloom


I have a GIVEAWAY for you over on my blog! You can win a brand new mini stamp set before it is released! :-) -> Giveaway

Thanks for stopping by!
Have a happy day,


Tuesday, September 26, 2017

Happy Halloween!

   Hi crafty friends and welcome back to our crafty space. Raluca here with a new card showcasing a few amazing products from Create a Smile Stamps.


   I don't know if you saw Francine's card from our Comeback Party, but I loved what she has done with the lantern, turning it into a Halloween lantern! 
   So I decided to make a card with more Halloween lantens :)


   First I prepared two white panels die cutting them using the largest stitched rectangle. On one of them I stamped in VersaMark the Skulls cling stamp and white embossed it and I added 3 Distress Inks using the emboss resist and ink blending techniques. Then I cut the inked panel smaller and adhered it on to the base panel.
   Next I stamped, colored and fussy cut the lanterns using orange and yellow colors. After I was done coloring, I added the googly eyes and draw on each a little nose and a smile. I mounted them on to the panel and stamped above them a string from the set. 
   For the sentiment I stamped a happy from the "Just saying Hello" set and formed the "Halloween" word using purple alphabet stickers (have you seen the collection of alphabet stickers that Christine carries in the shop?). 
   And my card was done. It was quite easy to make and I had a ton of fun creating these Halloween lanterns (thank you Francine for your clever idea!).


Skulls


   If you love Instagram like I do, you can follow Create A Smile using the name @createasmilestamps and if you have any questions about card making, techniques or products or if you want to share your creations with Create A Smile fans join us on our Facebook group Create A Smile - Friends & Family :).
   Have a lovely Tuesday!
   Thanks for stopping by,
   Raluca

Sunday, September 24, 2017

Blooming Colours

Hi everyone! I thought I've used the new In Bloom stamp set quite well, until I realised that I've not touched the big flower. That was my inspiration for this card. I wanted to make a one-layer card but I had a piece of die-cut left from my last card and decided to make use of it. 


Super easy card and you can even do it with images of critters, coffee cups, trees, card, or even just simple shapes. A tip is to stamp down your biggest image first (in my card, the yellow flower). This way, you know that you'll definitely have enough space for the number of large images you want and fill in the space with any smaller images. 


Prima Watercolours
Archival Black Ink


Follow Create A Smile on Facebook keep yourself updates on all the happenings and if you're an Instagram addict like I am, you can follow Create A Smile using this name : @createasmilestamps ! :)


Thanks for stopping by,


Friday, September 22, 2017

Zombie Pig is Sad

Hi there!
Samantha up on the blog today, and I'm sharing a cute little empathetic card...with a zombie pig! Ha!


He he he he!! I love this creepy set, it's perfect for Halloween! But it can be used for much more, too!! See? This is the perfect card to send to someone going through a hard time, to let them know they're not alone! 


Let's get down to business and make this card! :)
- stamp and color the images (I used Zig Clean Color Real Brush Markers and some Bristol Vellum Surface Mixed Media paper)
- fussy cut out once dry


- on a piece of white cardstock, spread some white embossing paste with a palette knife and a stencil
- for the 'ground' of the card, ink blend Vintage Photo and Fossilized Amber Distress Oxide Inks, then flick on some color for the 'dirt'.
- attach your colored images with foam tape


You could color this little guy in fully in green to be a 'real' zombie, or you can color him in all pink! I love how the green tinge makes him seem a little sick or stressed! Ha! 


I love the addition of white embossing paste through a stencil onto a white piece of cardstock! For this card, I used the Diagonal Grid Stencil! SO fun and versatile! And that cute little zombie pig is from the adorable Creepy Cute stamp set! :)


Did you know that a lot of the newest information regarding Create a Smile Stamps can be found on the home page of their website! The newest releases, and flash sales can all be found right here! :)

~Samantha


Thursday, September 21, 2017

take your time to be happy * Stencil Love 4/4

Hello crafty friends, Nicole here.

I love this beautiful house boat... It looks so calm and cozy :-)


I love the stencils by Create A Smile and I wanted to use them more often. They are so versatile and fun to use.

  • apply ink over your stencil with a sponge dauber (I used Distress Oxides)
  • move your stencil and add a second layer of ink
  • put your stencil to the side (clean it ;-) ) and apply more ink with you sponge dauber but use less ink and less pressure
  • spritz some water drops on your background panel and let it dry
  • stamp the boat on alcohol ink friendly paper, color it (I used Spectrum Noir markers) and cut it out
  • stamp your greeting and adhere the boat with foam tape
  • finish up your card by adding Glossy Accents to the windows on the boat


Stencils are so versatile. Have you tried to use them on vellum? Check out on Instagram or Facebook what Christine (owner of Create A Smile) did! -> Stencils & Vellum

Waves Stencil / Glowing Seaside / Botanical Love / Double Stitched Rectangles

We're on Instagram @createasmilestamps :-) Show us your creations using #createasmilestamps

Thanks for stopping by!
Have a happy day,